TortoiseGit 설치 방법
TortoiseGit 다운로드
TortoiseGit 홈페이지
TortoiseGit – Windows Shell Interface to Git
Get Support Manuals, FAQ, bug reporting, mailing list, and more…
tortoisegit.org
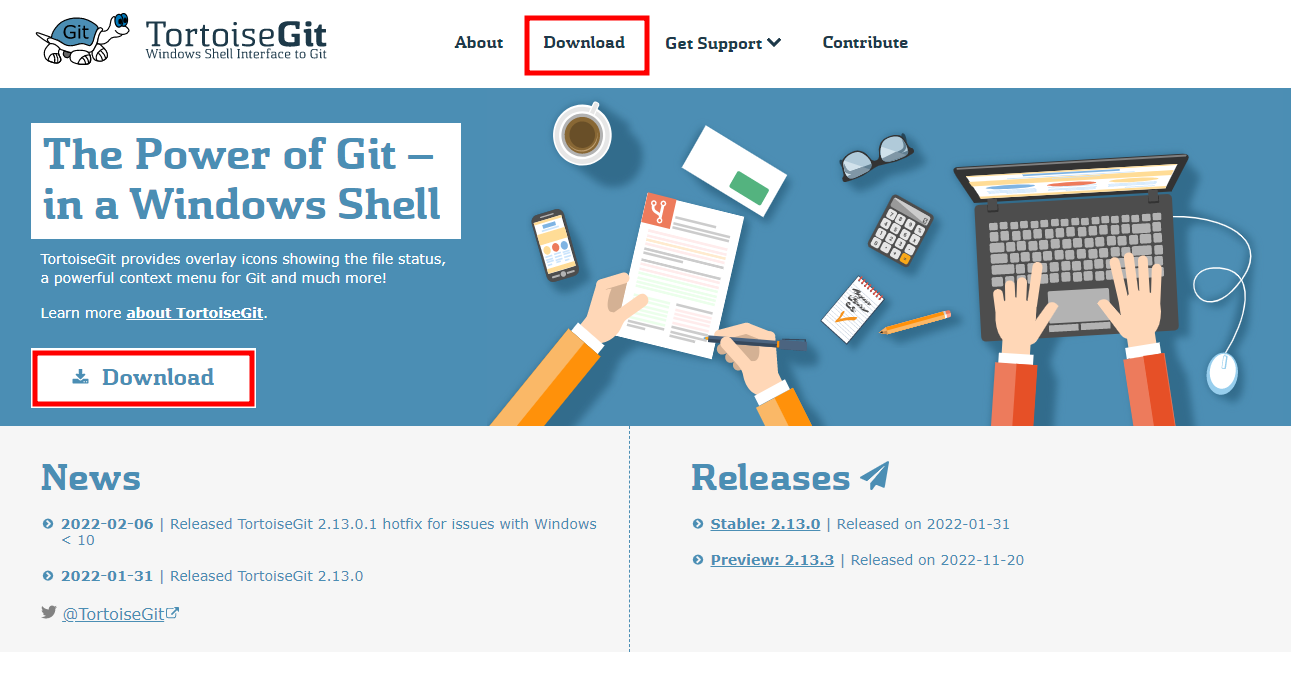
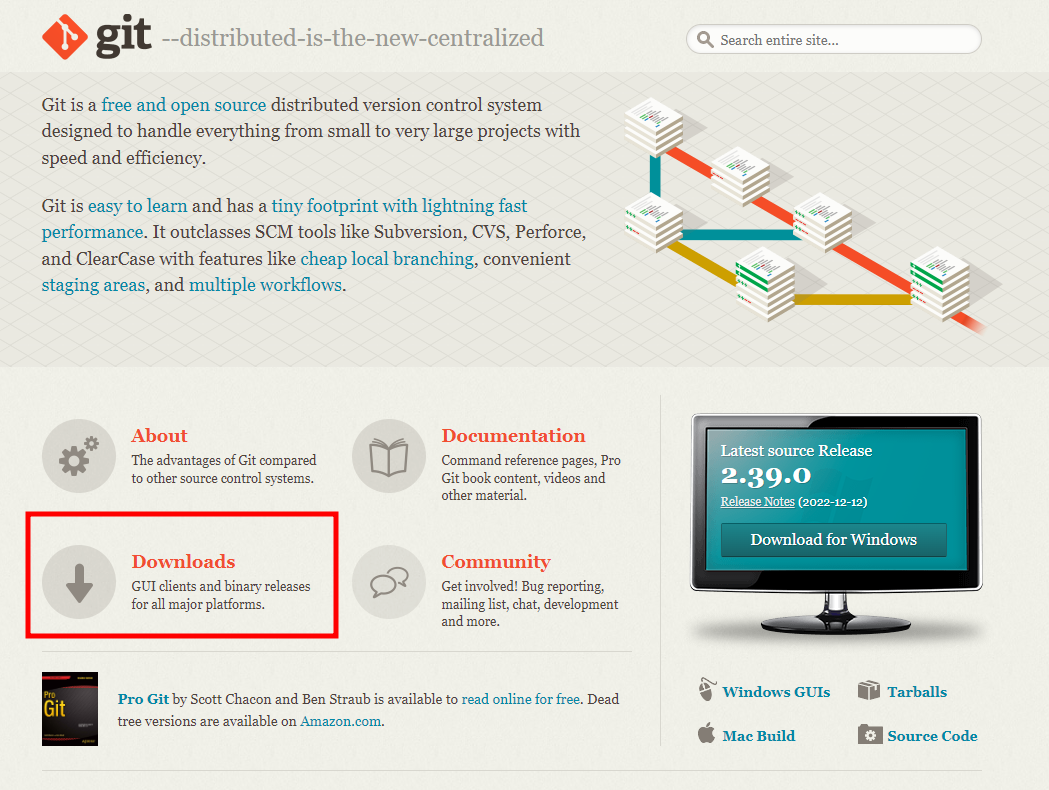
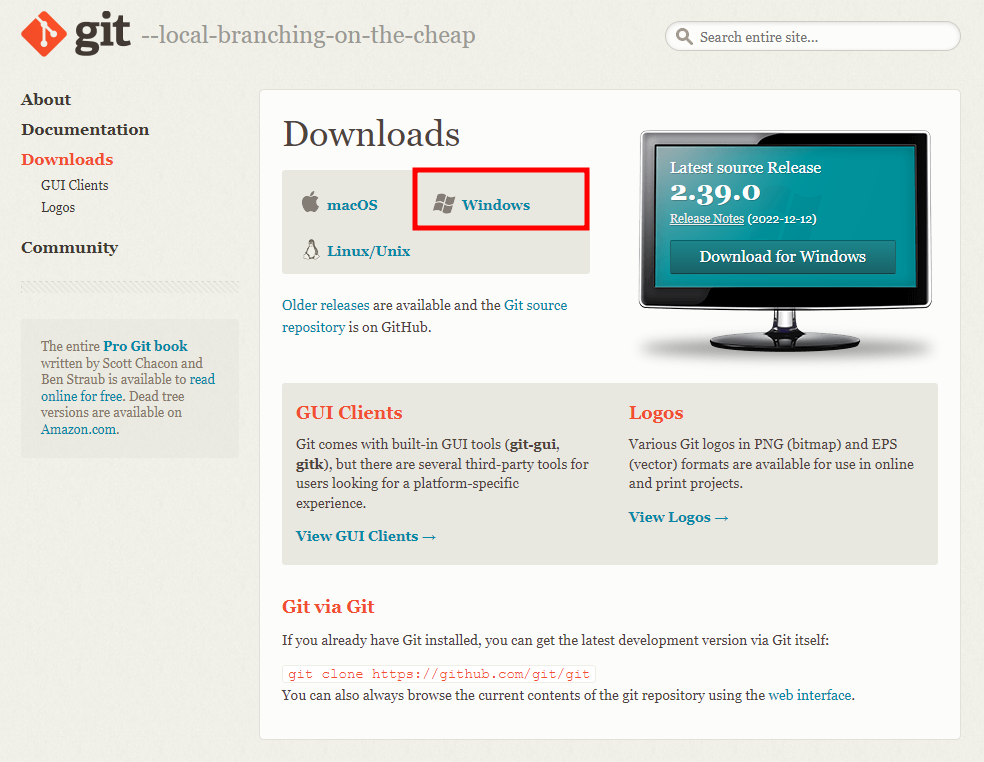
홈페이지에 접속하여 Download 페이지로 이동합니다.
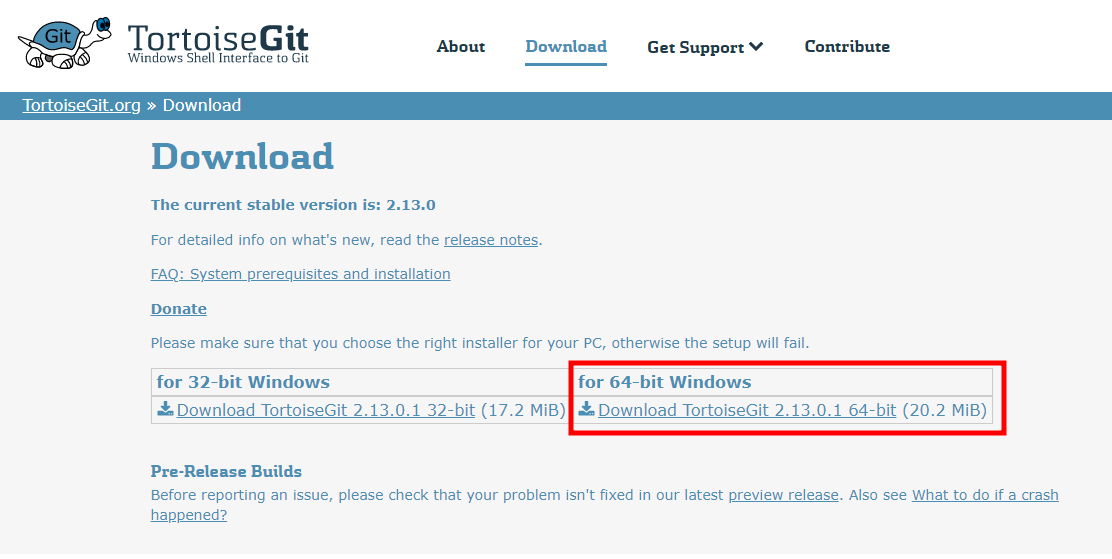
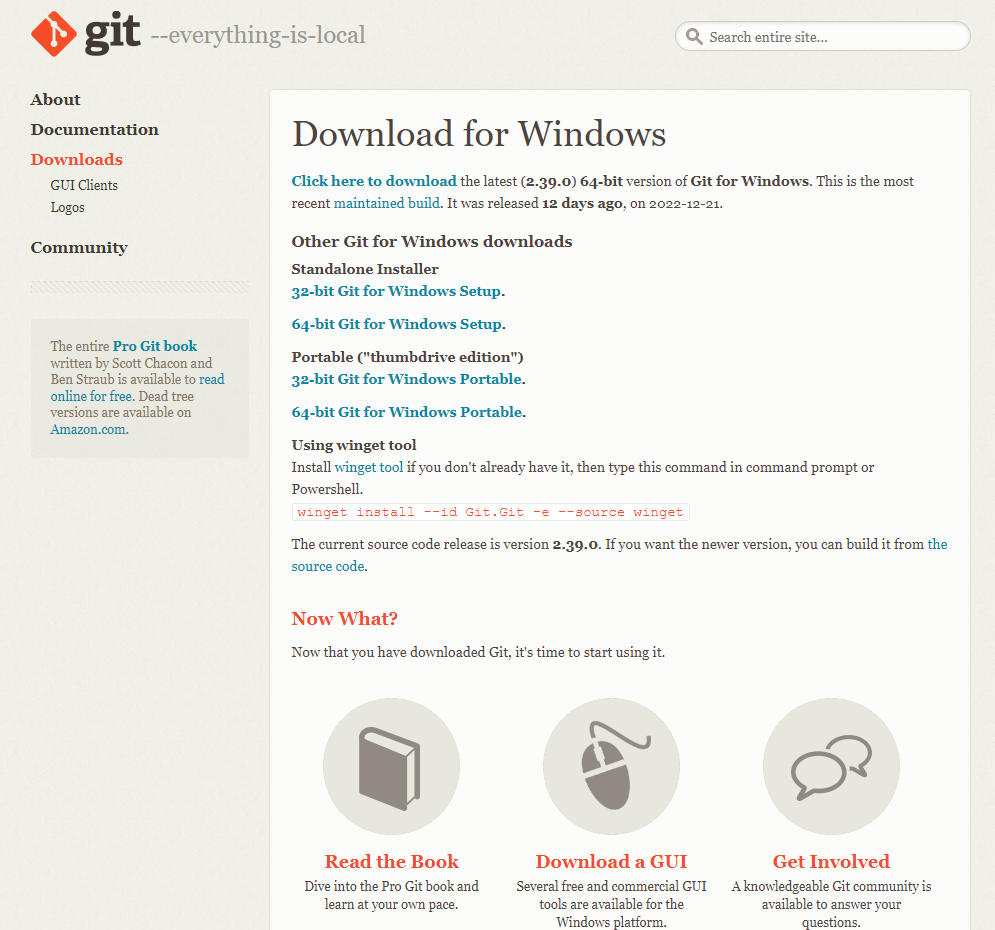
OS버전에 맞게 다운로드 합니다.
여기서는 64-bit Windows version 2.13.0.1 기준으로 합니다.
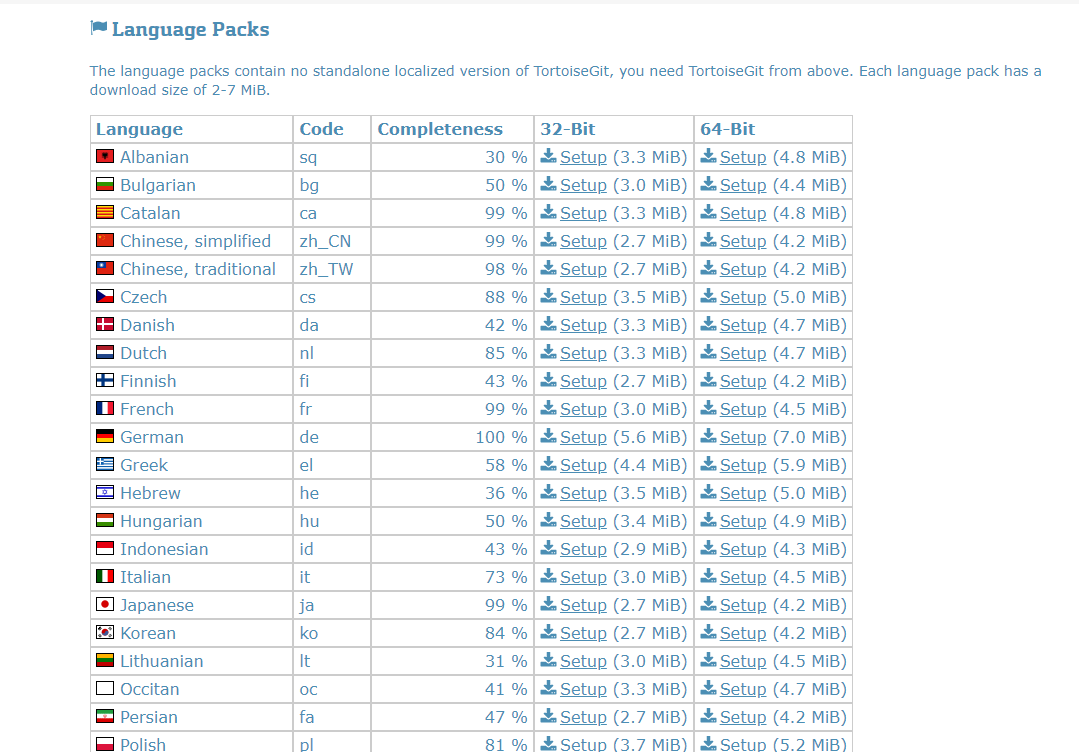
추가적으로 언어팩도 설치 가능하며, TortoiseGit 설치 이후에 추가로 설치하면 됩니다.
TortoiseGit 설치 절차
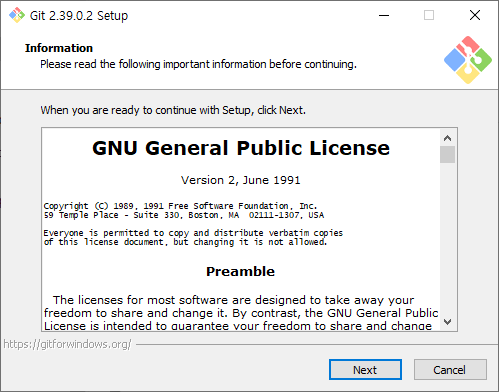
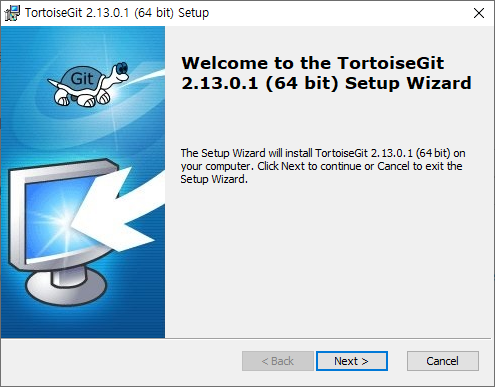
1. Information

2. Choose SSH Client

기본으로 선택되어 있는 TortoiseGitPlink, based on Putty; optimized for TortoiseGit and intergrates batter with Windows 를 선택하고, Next 클릭합니다.
3. Custom Setup
4. Ready to Install
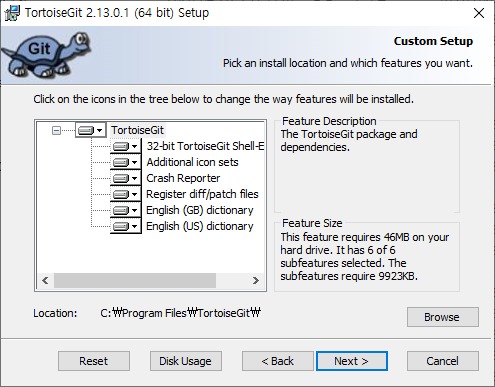

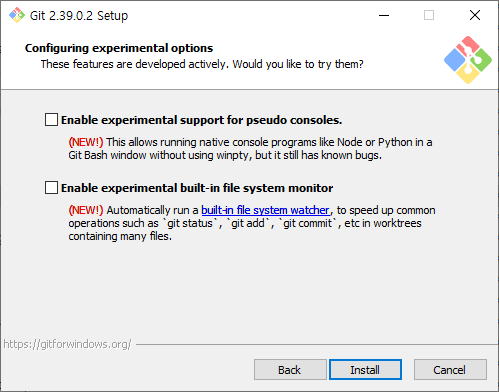
설정 변경없이 Next 와 Install 합니다.
5. Installing TortoiseGit
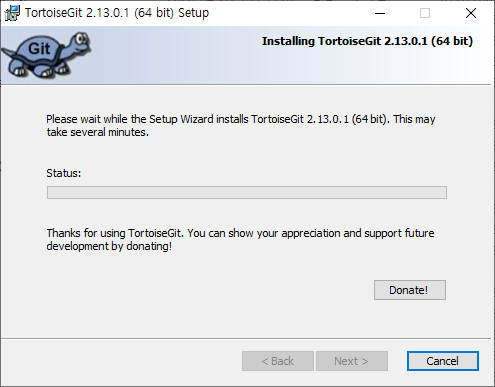
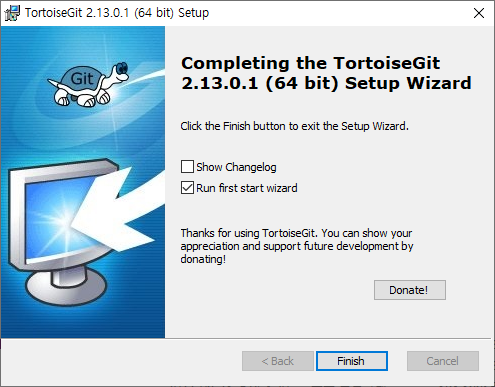
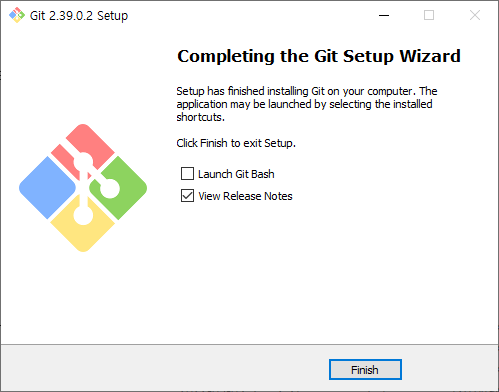
설치 완료. 바로 실행하여 Start wizard 까지 설정합니다.
First Start Wizard
설치 이후에 처음 실행하면 위자드를 통해 설정해야 합니다.
사전 요구 사항
Git 설치 완료
스타트 위자드에서 Git 설치 경로등을 설정하기에 사전에 Git이 설치 되어 있어야 합니다.
1. Welcome to TortoiseGit!
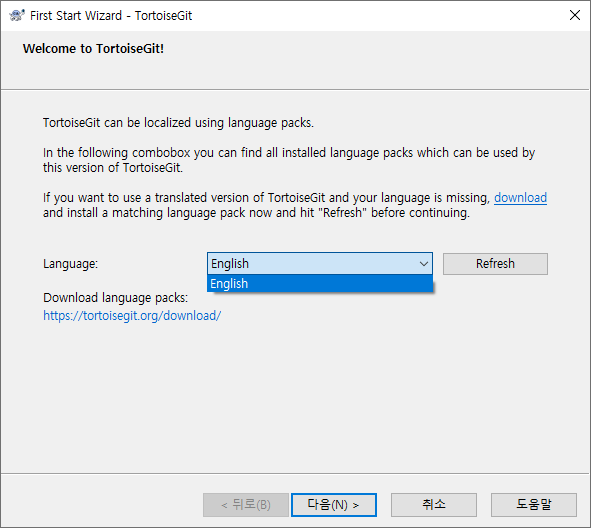
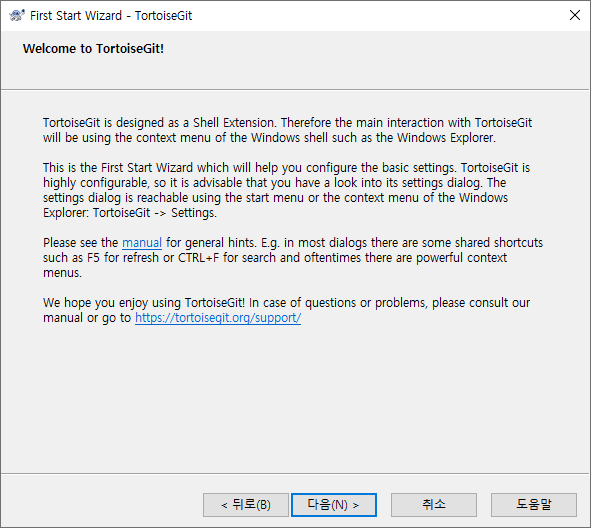
다음(N) 클릭합니다.
2. Configure git.exe
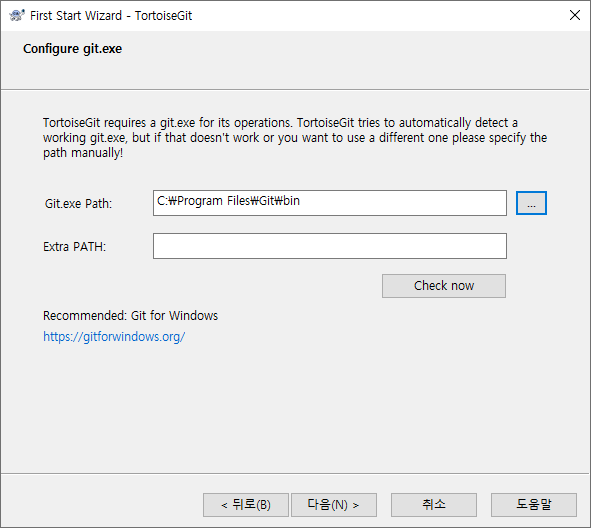
Git이 설치되어 있으면, 기본적인 설치 경로는 C:\Program Files\Git\bin 입니다.
3. Configure user information
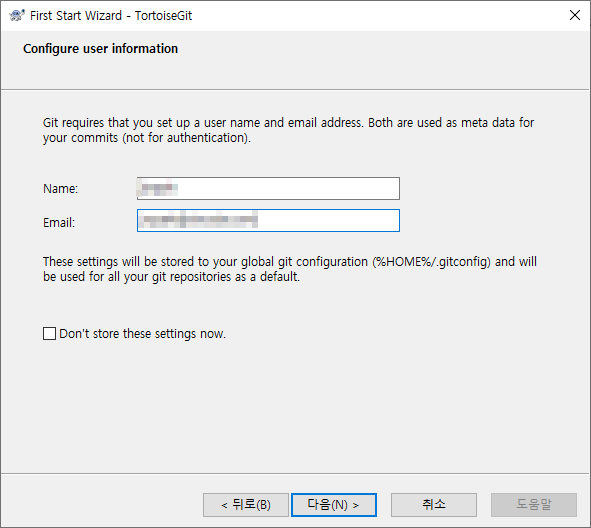
이름과 이메일을 등록합니다. 개인 이메일이나 회사에서 사용하면 회사 이메을 사용하면됩니다.
나중에 commit, push 할때 위에 설정은 이름으로 표시됩니다.
4. Authentication and credential store
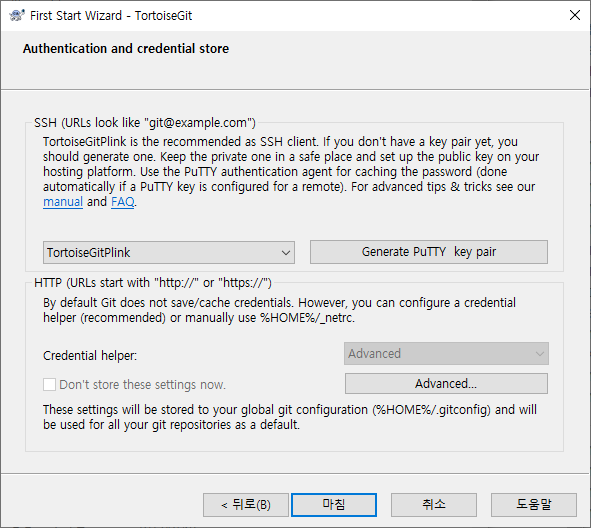
추가적이 설정 변경 없이 [마침] 으로 마무리 합니다.
TortoiseGit 사용
Windows 탐색기
1. Windows 탐색기
윈도우 탐색기에서 우클릭하면 팝업메뉴에 TortoiseGit 관련하여 표시됩니다.
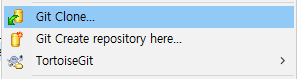
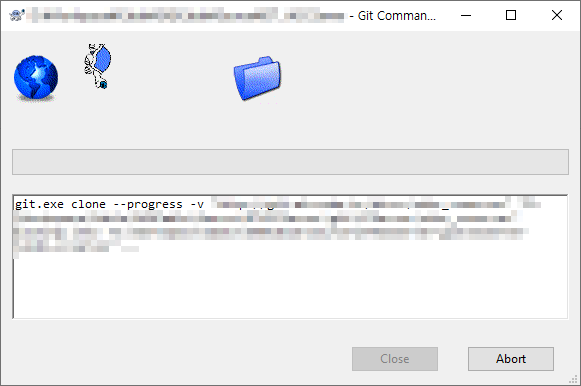
Git Clone... 클릭하면 다음 화면이 표시됩니다.
2. Git Clone...
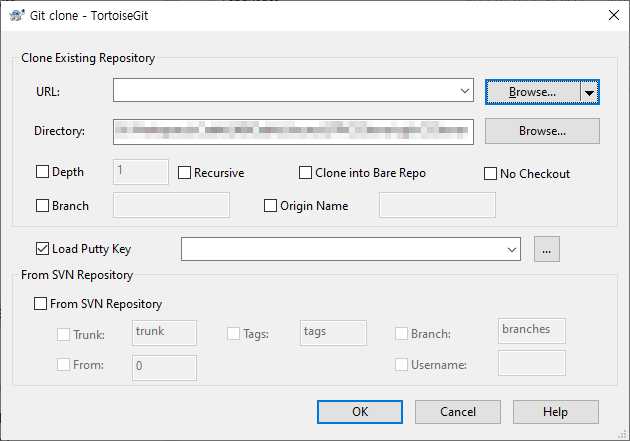
URL에는 Repository 주소를 입력하고, Directory 에는 폴더를 지정합니다.
2. Git Credential Manager
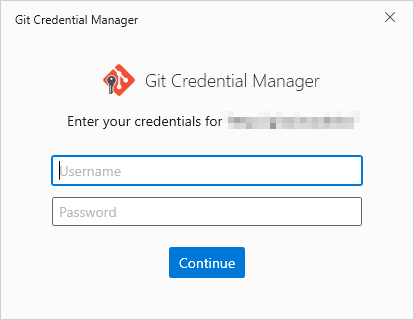
위에 입력한 URL의 처음인 경우에는 계정 로그인이 필요합니다.
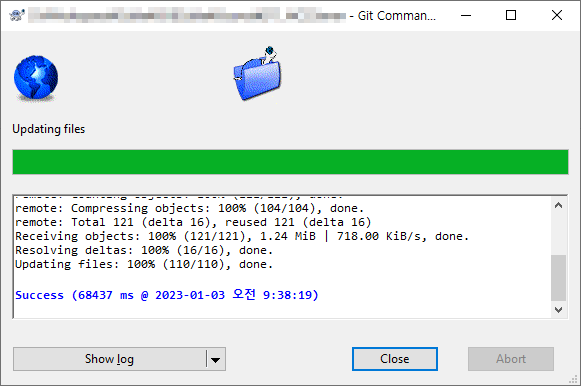
Git Clone 완료
2. Git Sync
3. Git Commit
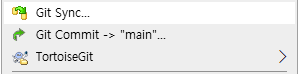
Git Clone 완료되면 이후에는 Sync, Commit 이 가능합니다.

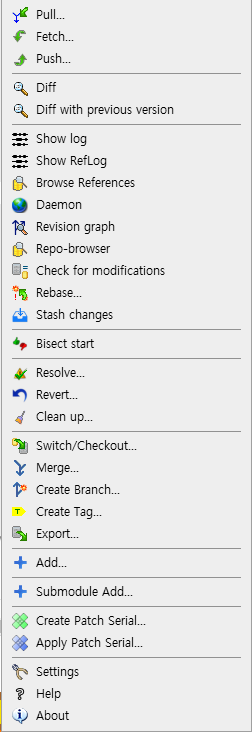
TortoiseGit 추가 팝업메뉴를 통해서 다양한 기능을 이용할 수 있습니다.
'코드' 카테고리의 다른 글
| boost 라이브러리 설치하기 (1) | 2023.04.14 |
|---|---|
| Visual Leak Detector(VLD) - 메모리 누수 탐지기 설치 (0) | 2023.04.13 |
| [Windows] Visual Studio Code(VS Code) 설치 방법 (0) | 2023.01.10 |
| RAD Studio - History Manager Setting (0) | 2023.01.05 |
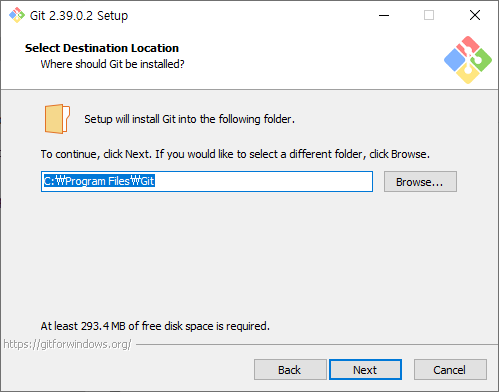
| 윈도우에 Git 설치하기 (0) | 2023.01.03 |